
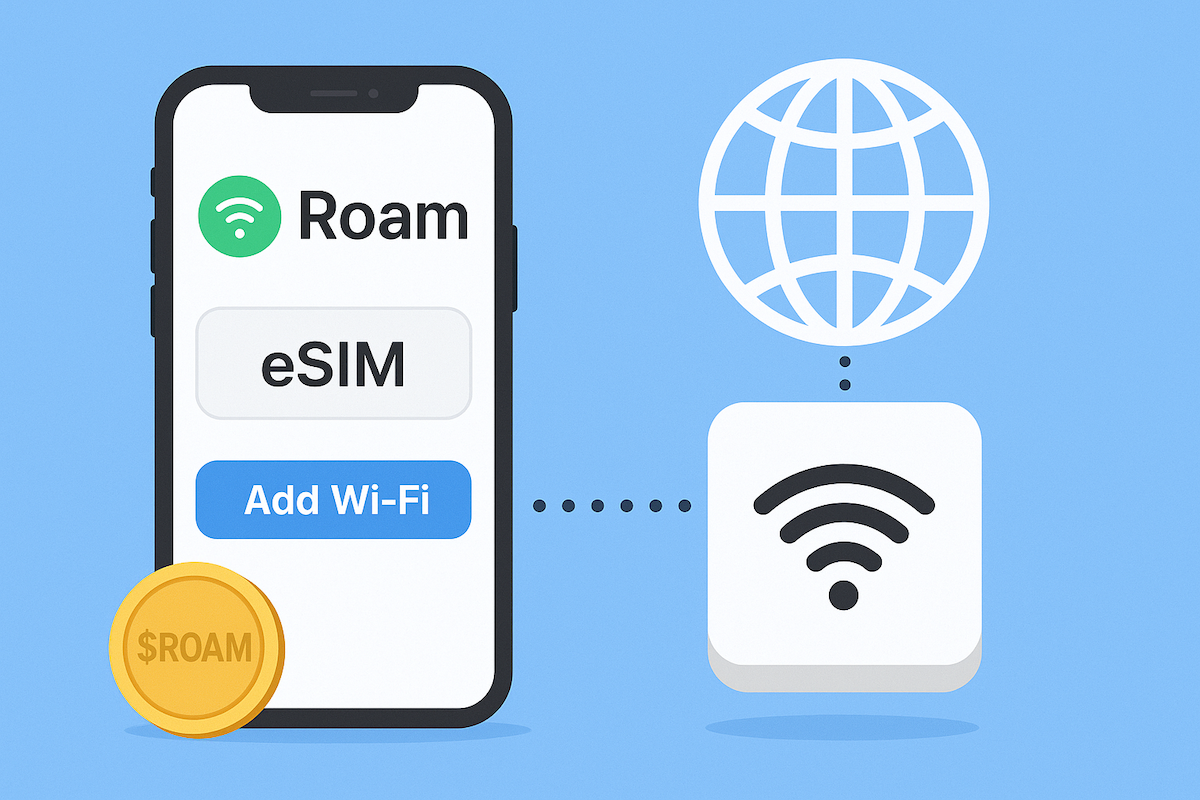
After landing in Tokyo, you switch off airplane mode and your phone instantly connects to a local network, avoiding roaming fees. A travel eSIM is a digital SIM card that you download onto your device before or during a trip, eliminating the need for a physical plastic card. It works by linking your phone to local carrier profiles in various countries, allowing you to purchase data plans in advance and activate them upon arrival. This provides immediate, cost-effective connectivity without hunting for a physical SIM vendor at the airport.
Why Every Modern Explorer Needs a Digital SIM
Every modern explorer needs a travel eSIM to eliminate the hunt for physical SIM cards upon arrival. It allows you to activate data coverage before your flight departs, ensuring navigation maps and translation apps work instantly at baggage claim. You can switch between local network profiles without swapping cards, preserving your WhatsApp number for critical check-ins. Popping into a single country for a layover is effortless, as eSIMs let you buy temporary data in seconds. By removing fragile plastic chips, you protect your device’s port and avoid the risk of losing connectivity when stores are closed. This digital approach gives you total control over your connection, turning every destination into a seamless, connected experience.
Cut the Roaming Fees: How Embedded SIMs Save You Money
Traditional roaming fees vanish when you switch to an embedded SIM, because you bypass your home carrier’s inflated international rates. Instead, you purchase a local data plan directly from a regional provider in your destination. The savings are immediate: no daily roaming charges, no surprise bills. To cut these fees methodically:
- Buy a regional or local eSIM plan before departure.
- Activate it upon arrival, instantly replacing your expensive home network.
- Keep your primary line active only for essential calls, using the eSIM for all data.
This approach eliminates per-megabyte roaming costs, ensuring predictable travel expenses without any carrier markup.

Instant Connectivity Upon Landing: Skip the Airport Kiosks
Instant connectivity upon landing eliminates the need to queue at airport kiosks after a long flight. With a travel esim activated before departure, your phone connects to a local network the moment the plane’s doors open. This lets you immediately access maps, share your arrival with family, or arrange a ride from the curb—without fumbling for foreign currency or a physical sim slot. Since the esim links to a carrier while still in the air, there is no downtime between touchdown and going online. Skipping the kiosk also removes the risk of losing a tiny plastic card in a tired traveler’s pocket, streamlining your entry into the destination.

Dual SIM Freedom: Keep Your Home Number Active
Dual SIM Freedom lets you keep your home number active without roaming fees. While your primary eSIM handles urgent calls and banking verification texts, a travel eSIM connects to local data for maps and messaging. To set this up, simply:
- Install your travel eSIM for mobile data.
- Keep your primary line enabled for SMS and voice.
- Disable data roaming on your home line to avoid charges.
Your contacts always reach you on the familiar number, while you enjoy affordable local connectivity abroad. No juggling physical SIMs or missing important authentication codes.
Selecting the Right Virtual SIM for Your Journey
Selecting the right travel eSIM hinges on matching data needs to your specific itinerary. Prioritize providers offering local-network partnerships in your destination, not just global roaming, for reliable speeds. A short inline Q&A about Selecting the Right Virtual SIM for Your Journey: How do I choose between a regional and a global plan? Choose regional if visiting one continent; global plans are better for multi-country trips to avoid per-country top-ups. Verify if the eSIM allows hotspot tethering and offers a simple app for real-time balance checks. A plan with a generous data allowance and a clear refund policy for unused days ensures you pay only for what you use, avoiding unexpected throttling.
Regional vs. Global Plans: Which Fits Your Route?

Choosing between a regional and global eSIM plan hinges entirely on your specific itinerary. A regional eSIM for targeted travel covers a cluster of neighboring countries, like Europe or Southeast Asia, offering excellent value if your route stays confined within that zone. For a single-country trip or a focused multi-stop journey, this is often cheaper and faster to set up. A global plan, conversely, provides coverage across broad, often multi-continental networks. It fits routes that span diverse regions, such as a trip from Japan to Brazil. However, global plans frequently have higher data costs. To decide, follow this sequence:
- List every country on your route.
- Check if all countries fall under one regional coverage map.
- If yes, choose the regional plan for cost efficiency. If they span multiple regions, select a global plan to avoid juggling multiple eSIMs.
Data-Only or Call-Enabled: Matching Package to Purpose
When selecting a travel eSIM, the core decision is matching package to purpose between data-only or call-enabled plans. Data-only suits travelers relying on messaging apps, navigation, and social media, as voice minutes remain unused. Call-enabled packages add a local number for booking confirmations or contacting services that lack VoIP. However, incoming calls often incur charges even without dialing, so assess your need for a local contact number versus pure connectivity.
Q: Should I choose data-only if I can use apps for calls?
A: Yes, data-only is cost-efficient if recipients also use the same apps. Choose call-enabled only when you must call local businesses, hotels, or emergency lines that require a direct number.
Top Providers Compared: Coverage, Speed, and Cost
When evaluating top providers, coverage dictates where you can connect, with global plans offering patches in many countries while regional ones concentrate reliability. Speed varies significantly; some providers cap LTE below 30 Mbps, sufficient for maps and messaging, whereas others offer uncapped 5G for video calls. Cost follows a clear sequence:
- Regional eSIM providers often price per-GB lowest, but only for one continent.
- Global aggregators charge more per GB for breadth across dozens of destinations.
- Premium plans from direct networks cost the most but guarantee consistent high-speed roaming on native infrastructure.
Cross-reference each provider’s coverage map against your itinerary, then match speed tiers to your tasks before comparing total trip cost.
Setting Up Your Digital Roaming Profile
When installing your travel eSIM, begin by accessing your device’s cellular settings to add the plan. Your digital roaming profile is activated upon scanning the provided QR code or entering the confirmation code manually. Always set the eSIM as your primary data line, while keeping your physical SIM active for calls and texts. Q: What if the profile doesn’t appear immediately after scanning? A: Restart your device, then navigate to Cellular > Select the eSIM label, and toggle ‘Data Roaming’ on; the profile activates within 30 seconds of a network connection. Verify the profile shows your destination network manually before departure.
Pre-Trip Installation: Step-by-Step for iPhone and Android
For a smooth trip, complete the pre-trip eSIM installation at home using stable Wi-Fi. On iPhone, go to Settings > Cellular > Add eSIM, then scan the QR code from your provider or enter the activation code manually. On Android, navigate to Settings > Connections > SIM card manager > Add mobile plan, and scan the QR code or use the provider’s app. Ensure your primary physical SIM remains enabled for calls if needed, and confirm the new eSIM is labeled under “Cellular Plans” (iPhone) or “Mobile Plans” (Android).
- Download the eSIM provider’s app before leaving for offline access to the QR code.
- To avoid data conflicts, set the primary SIM for voice and the eSIM for data roams.
- Perform a test activation up to 24 hours prior to departure to verify network connection.
Activating Abroad: Avoiding Common Activation Pitfalls
Activating your travel eSIM abroad often fails due to overlooked timing and connectivity. Pre-install your eSIM profile before departure to avoid relying on foreign Wi-Fi for setup. Common pitfalls include activating too early in a different time zone, which wastes data days, or waiting until you’ve landed with no cellular access. Ensure your device is unlocked and roaming is enabled immediately after activation.
- Install the eSIM at home, not at your destination, to guarantee a stable connection.
- Confirm your plan’s activation trigger: start timer only when you arrive.
- Toggle airplane mode for 30 seconds post-activation to force network registration.
- Manually select your local carrier if automatic roaming fails to connect.
Managing Multiple eSIM Profiles for Multi-Country Trips
For multi-country trips, managing multiple eSIM profiles requires a logical labeling system in your device settings, such as “Spain Data” or “Japan Voice,” to avoid connection errors. Each profile must be assigned a default data line in your phone’s cellular menu, ensuring seamless switching when crossing borders. Profile prioritization prevents accidental data charges when overlapping coverage exists. A common workflow involves activating Singapore eSIM a regional profile only upon arrival, then disabling it for a local profile when needed. Simultaneous activation of two profiles can cause unpredictable network handoffs between incompatible carriers.
Q: How do I avoid losing access to a previously used eSIM profile when adding a new one for another country?
A: Store each profile in your device’s eSIM library without deleting it; most smartphones allow up to eight profiles stored, with only one active at a time, so you simply switch rather than re-download.
Maximizing Performance and Staying Secure
To maximize performance with a travel eSIM, manually select your device’s strongest local network carrier upon arrival rather than relying on automatic roaming, which often latches onto weaker towers. For staying secure, always disable Wi-Fi and Bluetooth when not actively using them to prevent unauthorized access or data interception via fake hotspots. Avoid using public charging stations; instead, carry your own power bank to reduce physical device tampering risks. Monitor data usage in your settings to avoid throttling that degrades speed. Finally, use a VPN from a trusted provider to encrypt all traffic, as eSIM data passes through foreign infrastructure.
Optimizing Network Settings for Faster Data Speeds
To optimize a travel eSIM for faster data speeds, manually configure your device’s Access Point Name (APN) to match the plan’s provided settings. Ensure automatic network selection is disabled; manually pick a local carrier with the strongest signal. Switching between LTE and 5G based on coverage can prevent unnecessary battery drain while maximizing throughput. Disable data roaming on your primary SIM to force exclusive eSIM usage. Always reboot after applying changes to refresh network registration, avoiding throttled gateway connections.
VPN Integration: Protecting Privacy on Public Networks

When using a travel eSIM, public Wi-Fi at airports or cafés becomes your primary data vector, making VPN integration essential for traffic obfuscation. A VPN encrypts the entire data stream before it leaves your device, preventing session hijacking or DNS leaks on unsecured access points. Activate the VPN pre-connection to the public network, not after, ensuring no unencrypted packets escape. This creates a tunnel that isolates your browsing, messaging, and login credentials from local eavesdroppers. Without this layer, your travel eSIM merely routes data; with it, authentication and location data stay opaque, even on compromised networks.
VPN integration with a travel eSIM ensures that all public Wi-Fi traffic is encrypted before transmission, isolating user activity from network-layer threats.
Battery Life Hacks When Relying on Virtual Carriers
When leaning on virtual carriers via travel eSIM, your phone’s radio works harder searching for roaming signals, which drains the battery faster. A key hack is to disable automatic network selection and manually lock onto one strong local tower. Turning off background data refresh for non-essential apps saves noticeable power, as the eSIM doesn’t ping constantly. Your phone’s airplane mode toggle, when used judiciously during downtime, can extend battery by hours. Avoid running dual SIMs (home and eSIM) simultaneously; keep your primary line off unless needed. Finally, lower screen brightness and shorten the auto-lock timer, as the eSIM’s data tasks will otherwise keep the display awake longer.
Troubleshooting Global Digital Connections
When your travel eSIM fails to connect globally, start by toggling airplane mode for 30 seconds to force a network re-registration. If that fails, manually select a compatible local carrier from your device’s network list instead of relying on automatic roaming. For persistent issues, verify APN settings match your eSIM provider’s exact configuration, as a single typo blocks data entirely. Switch your device’s data mode to 4G/LTE only, as automatic 5G can cause handshake failures on foreign towers. Always download the eSIM profile before departure, since activation requires an internet connection you might lack while troubleshooting abroad. A quick reboot combined with these steps resolves most temporary global connection glitches.
No Signal Solutions: Manual Network Selection Tips
When a travel eSIM shows no signal, the first corrective action is to disable automatic network selection. Manually scanning for available carriers forces your device to seek out all local networks, bypassing faulty auto-connections. Select a different operator from the list, ideally one not affiliated with your home carrier. A weak signal from one tower might be strong on a competitor’s network just a mile away. If the connection drops, repeat the scan and switch to another provider until data flows. This method isolates roaming handshake failures and is critical for restoring travel eSIM connectivity in remote areas.
Topping Up Data While On the Move
Running low on connectivity mid-journey shouldn’t stall your adventure. Instant data refills for your travel eSIM are designed for zero downtime, letting you purchase a new top-up directly from the provider’s app while using a local Wi-Fi hotspot or even your existing slow connection. Your new data bundle activates immediately, so you never need to hunt for a physical SIM card. Choose from flexible, usage-specific packs rather than resetting your entire plan.
- Look for providers allowing one-click refills via their mobile app, avoiding complex voucher codes.
- Select short-term, high-volume data bursts for navigation-heavy days exploring new cities.
- Always confirm the add-on’s validity period aligns with your remaining travel days to avoid waste.
- Opt for a provider that notifies you via push alert when your primary data drops below 20%.
Transferring Profiles Between Devices Without a Hassle
Transferring eSIM profiles between devices during travel requires a systematic approach to avoid service disruption. The process typically involves deactivating the profile on the original device via its settings menu, then scanning the original QR code or entering the activation code on the new device. Profile re-download is the most reliable method, as many providers store the profile in your account for repeated installation. Data-only eSIMs often allow transfers without contacting support, but carrier-locked plans may restrict movement. Test the transfer at home with stable Wi-Fi to ensure a smooth migration. Q: Can I transfer my eSIM mid-trip? A: Yes, if your provider permits reinstallation; keep your original activation details accessible to avoid losing connectivity.